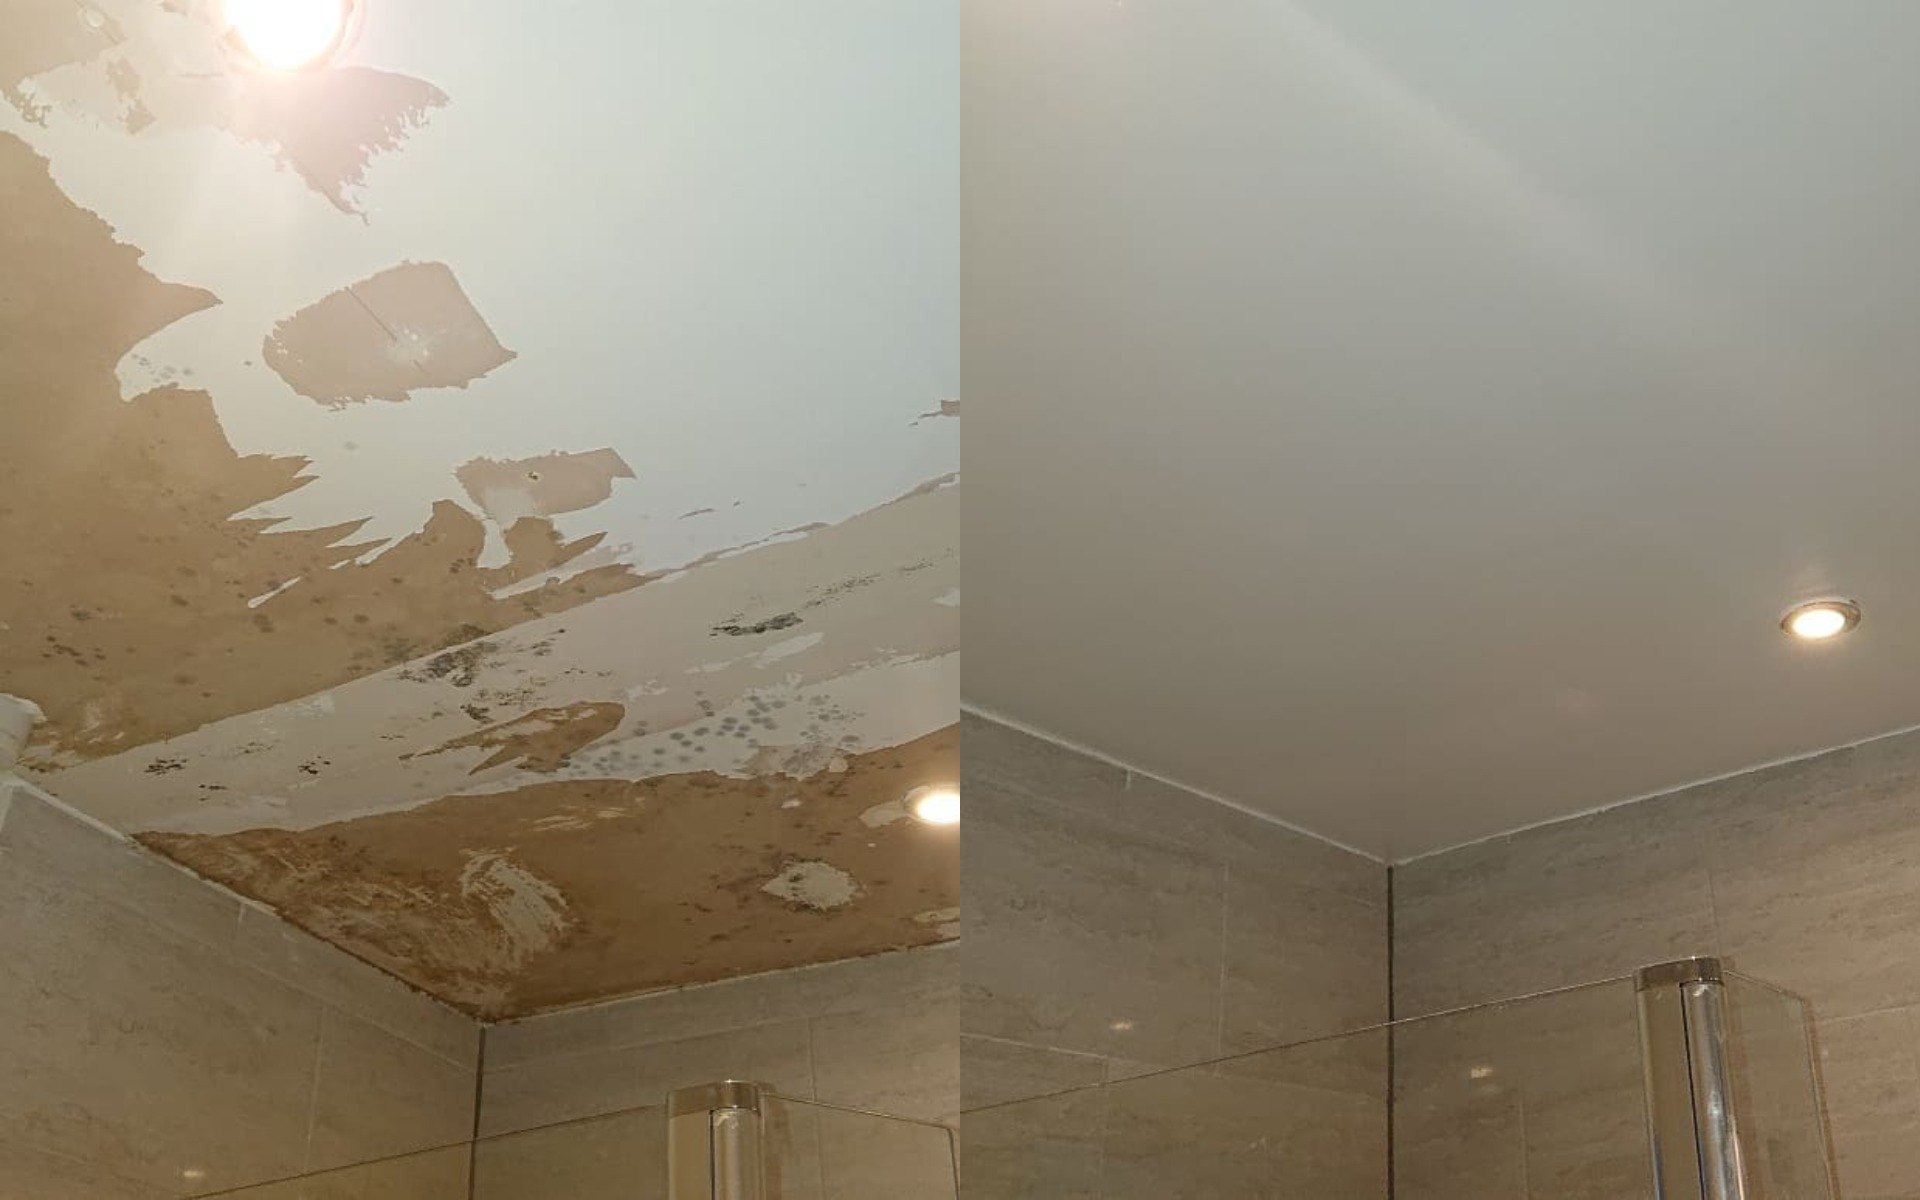
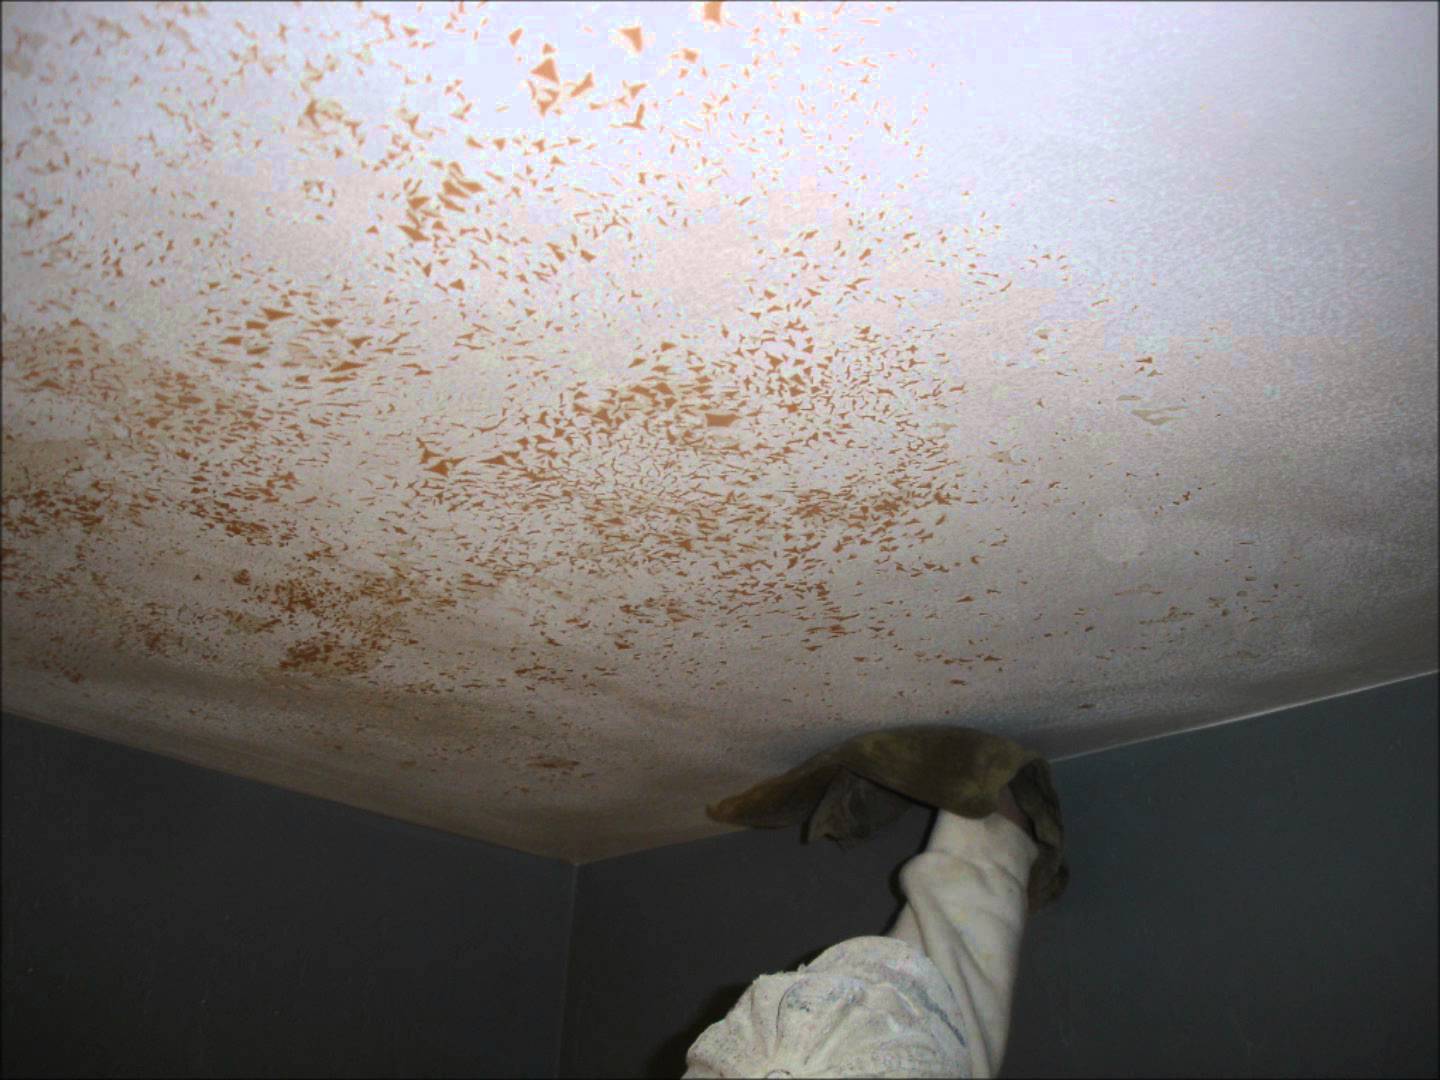
Causes of Peeling Bathroom Ceiling Paint

A peeling bathroom ceiling can be an eyesore and a sign of underlying issues. Understanding the common causes behind this problem is crucial for effective repair and prevention. Here, we’ll delve into the factors that contribute to paint peeling, providing practical examples and insights to help you address the problem in your own bathroom.
Moisture and Humidity
Moisture and humidity are the primary culprits behind peeling bathroom ceiling paint. The constant presence of steam from showers and baths creates a humid environment, which can lead to condensation on cold surfaces like the ceiling. This condensation can cause the paint to soften, weaken, and eventually peel off.
- Condensation: When warm, moist air from the shower comes into contact with the cooler ceiling, it cools down and releases moisture, forming condensation droplets. These droplets can seep into the paint, causing it to swell and peel.
- Poor Ventilation: Lack of adequate ventilation allows moisture to linger in the air, exacerbating the problem. Without proper air circulation, condensation accumulates on surfaces, leading to paint peeling.
- Leaky Pipes: Leaks in plumbing fixtures, pipes, or even the roof can contribute to excess moisture and humidity, creating a breeding ground for paint peeling. Water damage can weaken the paint adhesion and cause it to detach.
Improper Preparation
The way you prepare your bathroom ceiling before painting can significantly impact the paint’s durability and prevent peeling.
- Surface Cleaning: A clean, grease-free surface is essential for paint adhesion. Failing to properly clean the ceiling before painting can leave behind residues that interfere with the paint’s ability to bond properly.
- Primer Application: A primer acts as a bonding agent between the ceiling and the paint. Skipping this step can result in poor paint adhesion and peeling, especially in high-moisture areas like bathrooms.
- Moisture Barriers: In bathrooms with a history of moisture issues, applying a moisture-resistant primer or sealant can create a barrier to prevent moisture from penetrating the paint and causing peeling.
Low-Quality Paint
Using cheap or low-quality paint is another common reason for peeling.
- Moisture Resistance: Not all paints are created equal. Paint specifically designed for high-moisture areas, such as bathrooms, offers better resistance to moisture and humidity. Using standard interior paint in a bathroom can lead to premature peeling.
- Durability: Low-quality paint may not be as durable or resistant to wear and tear. The paint can become brittle and chip easily, leading to peeling.
- Adhesion: Paint with poor adhesion properties may not bond properly to the ceiling surface, leading to peeling over time.
Troubleshooting and Diagnosis

Before attempting any repairs, it’s crucial to understand the root cause of the peeling paint. A thorough diagnosis will help determine the best course of action and prevent future issues.
Assessing the Extent of the Peeling
Determining the extent of the peeling paint is essential for planning repairs. A visual inspection can reveal the severity of the problem, while a closer look can help identify the underlying cause.
- Visual Inspection: Start by visually inspecting the entire bathroom ceiling. Note the areas where paint is peeling, the size of the affected areas, and the extent of the peeling (e.g., small flakes, large patches, complete detachment).
- Touch Test: Gently touch the peeling paint to assess its texture and adhesion. This can help determine if the paint is simply flaking off or if it’s completely detached from the ceiling.
- Close Examination: Use a flashlight to examine the peeling areas closely. Look for any signs of moisture damage, mold growth, or cracks in the ceiling.
Bathroom Ceiling Inspection Checklist
A comprehensive inspection can help identify potential causes of peeling paint. This checklist provides a framework for homeowners to assess their bathroom ceilings.
- Moisture: Check for signs of moisture on the ceiling, such as water stains, discoloration, or dampness. Excessive moisture can lead to paint peeling.
- Ventilation: Assess the bathroom’s ventilation system. Inadequate ventilation can trap moisture, creating a breeding ground for mold and mildew, which can cause paint to peel.
- Leaks: Look for any signs of leaks, such as dripping water, water stains on the ceiling, or damp spots. Leaks can cause significant damage to the ceiling and lead to paint peeling.
- Mold Growth: Inspect the ceiling for any signs of mold growth, such as black, green, or white spots. Mold can weaken the paint and cause it to peel.
- Cracks: Check for any cracks or fissures in the ceiling. These cracks can allow moisture to penetrate the ceiling, leading to paint peeling.
- Paint Quality: Evaluate the quality of the existing paint. Older paint may be prone to peeling due to age, improper application, or the use of low-quality materials.
Identifying the Root Cause
Pinpointing the root cause of the peeling paint is crucial for effective repairs. Addressing the underlying issue will prevent the problem from recurring.
“Failing to address the root cause of peeling paint is like treating a symptom without addressing the underlying disease. It may provide temporary relief, but the problem will eventually resurface.”
Remediation and Repair Strategies: Ceiling Paint In Bathroom Peeling Off

Once the underlying cause of the peeling paint has been identified and addressed, the next step is to remove the damaged paint and prepare the surface for repainting. This process involves several methods, each with its own advantages and disadvantages.
Removing Peeling Paint, Ceiling paint in bathroom peeling off
Removing peeling paint is essential for creating a smooth and even surface for repainting. Several methods can be employed, each with its own effectiveness and drawbacks:
- Scraping: This method involves using a scraper to physically remove the loose paint. It is a simple and inexpensive method, but it can be time-consuming and labor-intensive, especially for large areas. Additionally, scraping can damage the underlying surface if not done carefully.
- Sanding: This method involves using sandpaper to smooth out the surface and remove any remaining loose paint. Sanding is effective for removing thin layers of paint and creating a smooth finish. However, it can be dusty and time-consuming, and it may not be suitable for all surfaces.
- Chemical Stripping: This method involves using a chemical stripper to dissolve the paint, making it easier to remove. Chemical stripping is effective for removing multiple layers of paint, but it can be hazardous and requires proper ventilation and protective gear. It is also important to note that chemical strippers can damage some surfaces, so it is essential to test them in an inconspicuous area first.
Repairing Peeling Paint
The best repair strategy for peeling paint depends on the severity of the issue and the underlying cause. Here is a table outlining the most effective repair methods for various peeling paint situations:
| Peeling Paint Issue | Repair Strategy |
|---|---|
| Minor peeling, limited to a small area | Scrape off the loose paint, sand the area smooth, and apply a primer before repainting. |
| Extensive peeling, covering a large area | Remove all the peeling paint using scraping, sanding, or chemical stripping. Apply a primer and repaint the entire area. |
| Peeling paint caused by moisture | Address the moisture problem before attempting to repair the paint. This may involve fixing leaks, improving ventilation, or using a moisture-resistant paint. |
| Peeling paint caused by poor adhesion | Remove all the peeling paint and apply a bonding primer to improve adhesion before repainting. |
